Case Study · Tutorial · 2026
3D Product Films With AI (The Right Way)
People keep asking how I make these 3D product films, so here's the whole thing. No gatekeeping. This is my personal method, and it's the exact workflow that's landed me five-figure jobs.
The short version: a proper 3D product film means a week or more of modeling, lookdev, and rendering. This method gets me a finished film in a day. The catch is that AI gives you almost no control, so instead of fighting it for control I built the workflow around volume, taste, and one cheap piece of glass.
Here's the method, start to finish.
01
Shoot real reference photos
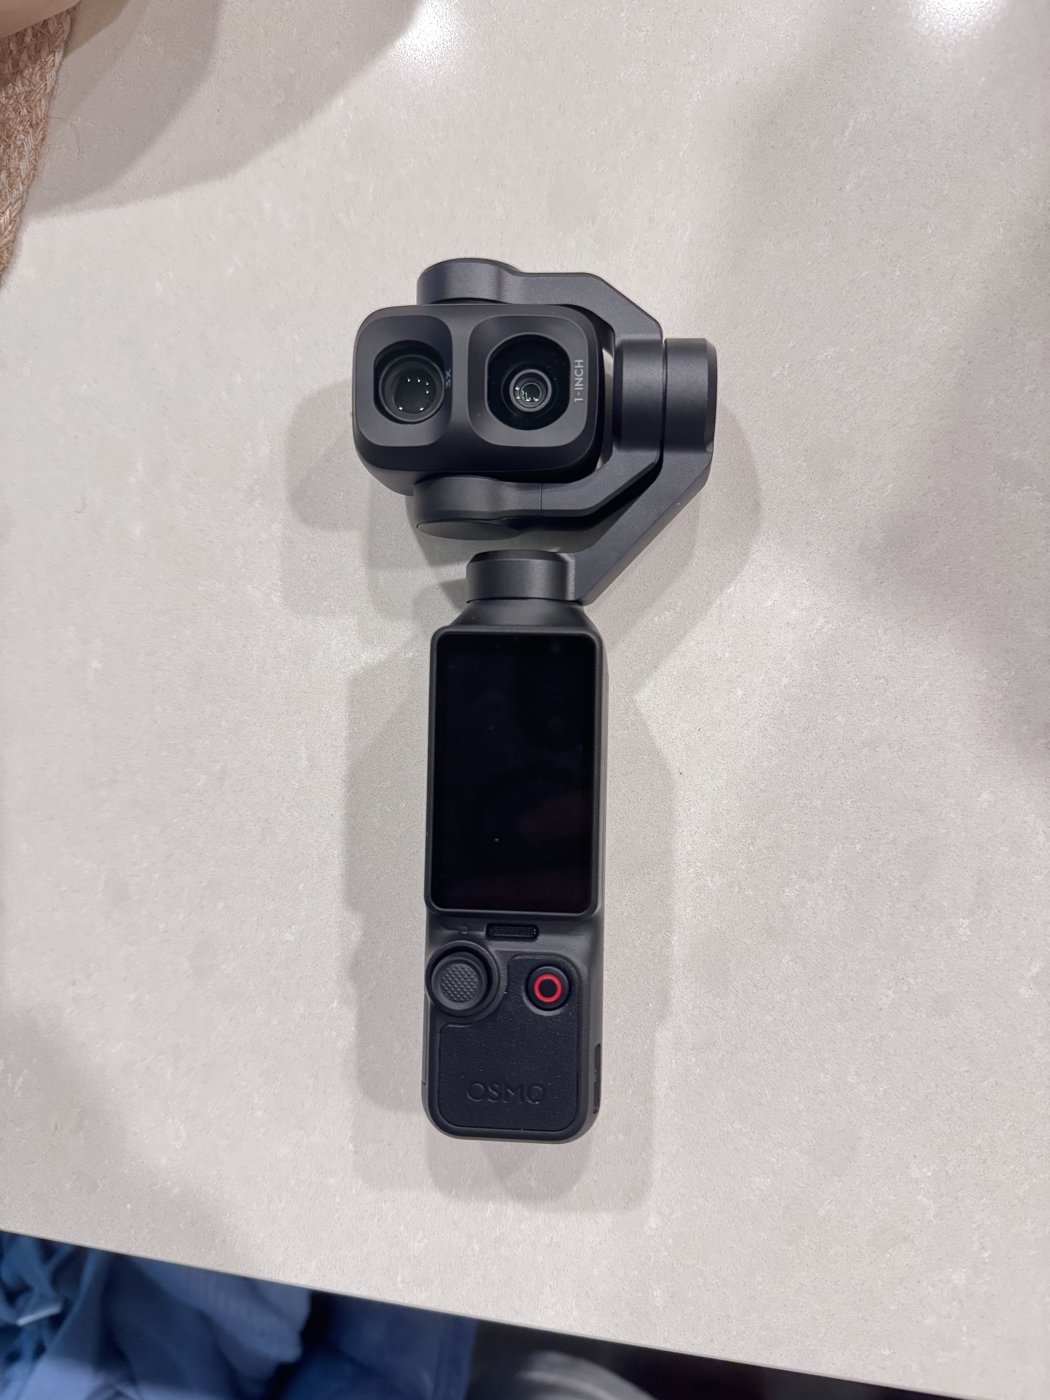
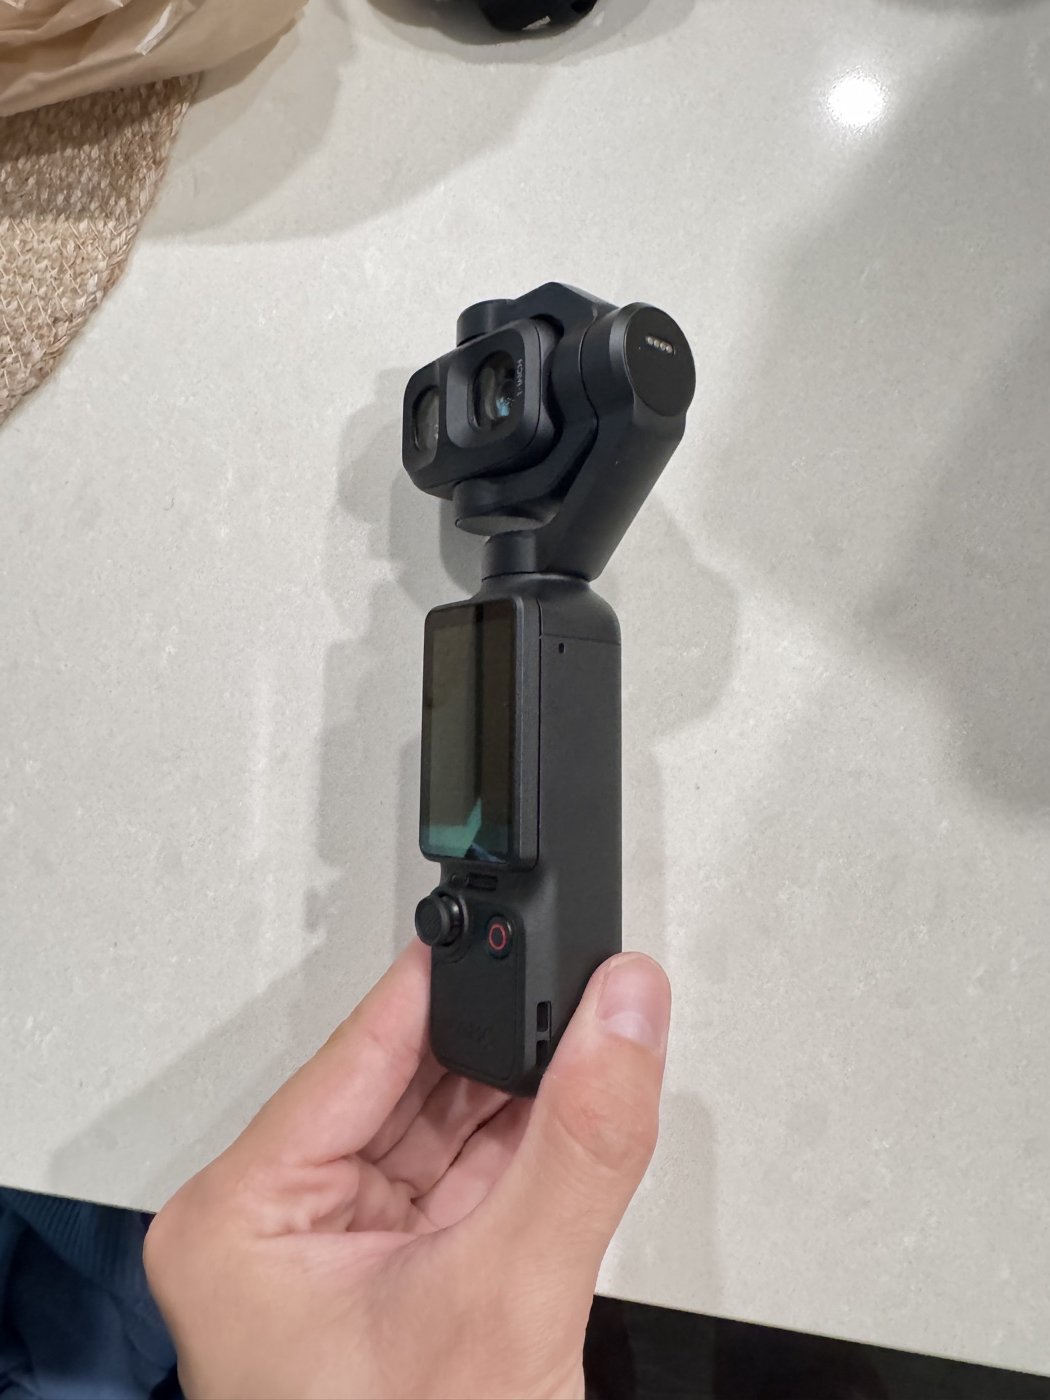
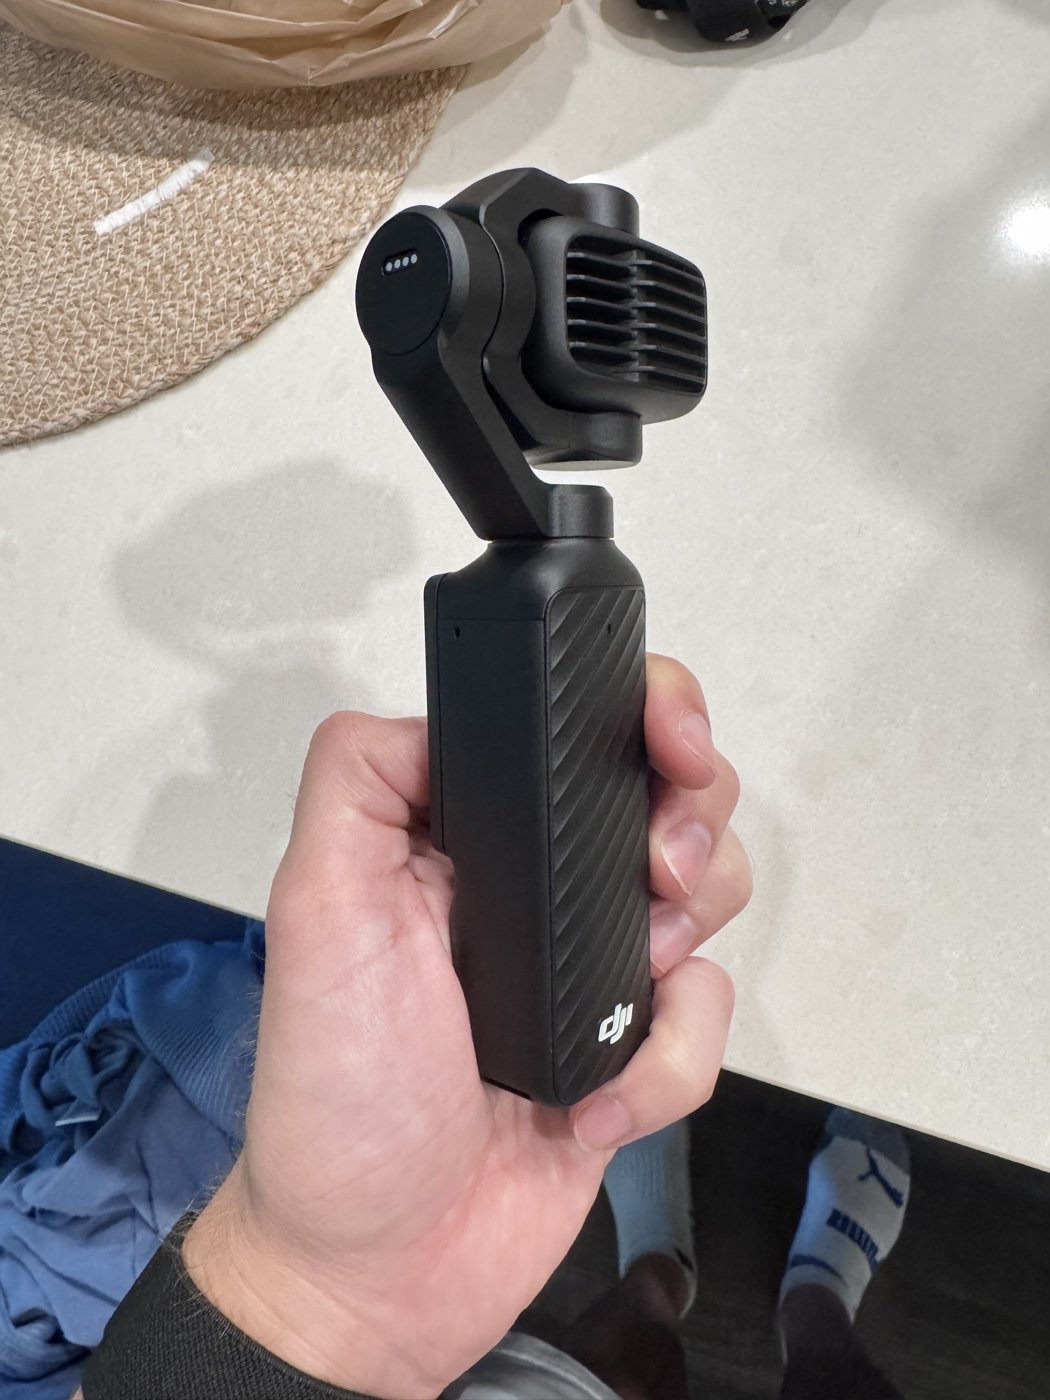
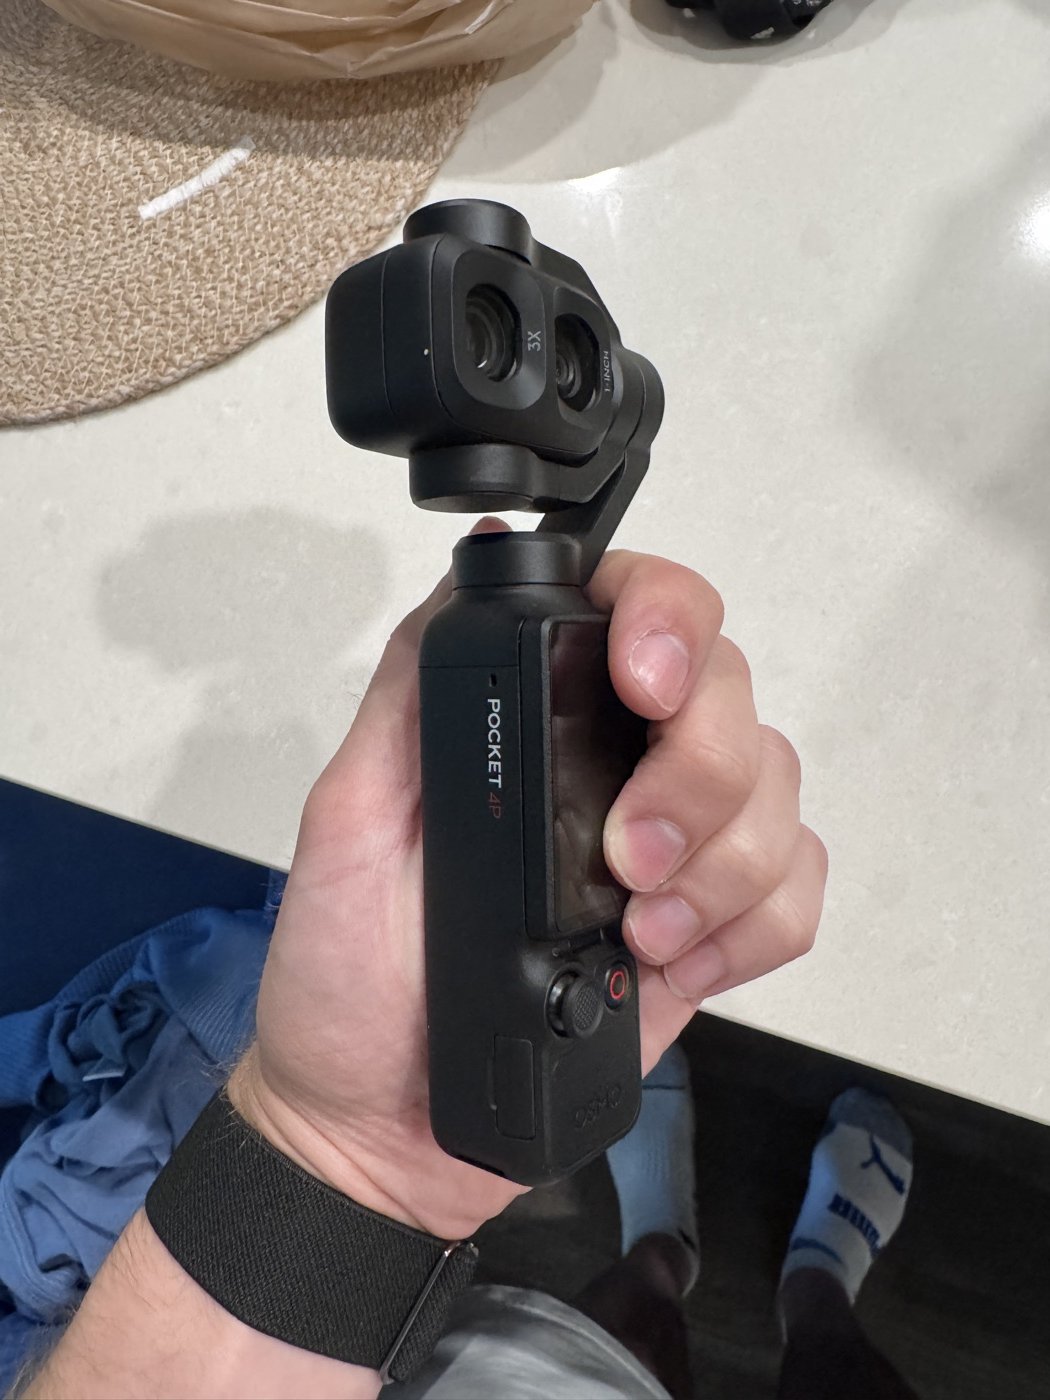
Everything starts with the actual product in my hand. I take a pile of phone photos, every angle, every detail, nothing fancy. Kitchen counter lighting is fine.
The point isn't pretty photos. The point is accuracy. AI will happily invent a product that almost looks like yours, and "almost" is what gets you fired. The references are what pin it to reality.
02
Turn the photos into an Element
Next I load the references into Higgsfield and save the product as an Element. An Element is basically a saved asset you can call by name in any prompt, and Higgsfield attaches your reference images to every generation that mentions it.
This is the step that keeps the product consistent across a hundred generations instead of drifting into some product that doesn't exist. If you skip this and just describe the product in words, you'll get a beautiful film of the wrong camera.
03
Do it all inside Resolve
Higgsfield has a plugin that lives right inside DaVinci Resolve, under Workflow Integrations. That means the whole loop, generating, reviewing, and cutting, happens in one place. No downloading files from a browser tab all night.
04
Throw sh*t at the wall
Here's the honest part of the method. AI is not accurate and you don't get much control, so I don't pretend otherwise. I test a bunch of prompt variations at 480p first, where it's cheap, so I'm not burning credits while I hunt for the one that's working.
The prompts fluctuate per product but the DNA stays the same: black void, one hard rim light, crushed blacks, heavy grain, extreme macro, and the product tearing itself down or building itself up. Lately Seedance 2.0 has been the most consistent for me. Sora 2 held that crown before it, and this will keep changing, so test rather than trust.
Once a prompt hits, I crank the quality up and generate a huge batch off it. Not three videos. Dozens. Volume is the whole strategy, because I only need a few seconds of magic from each one.
The prompt DNA · three speeds
Slow · exploded teardown
Experimental, ultra-detailed abstract product film of the [PRODUCT] performing a slow exploded-view teardown in a pure black void. Outer shells peel away, circuit boards lift apart, every piece suspended mid-air and rotating a few degrees. A single hard rim light carves speculars out of crushed blacks. Heavy film grain, digital noise, chromatic aberration, faint scan lines. No hands, no text, no logos, no background. Visual richness over clarity.
Snappy · smooth and clean
An elegant quick, snappy product video showcasing the [PRODUCT], disassembling, reassembling. Extremely close macro detail shots, light painting. The whole image pumped with extremely strong grain as if it was shot on an ARRI 16mm film camera. No text on screen, just a 3D cinematic product showcase.
Fast · chaos
Experimental, ultra-gritty abstract product film of the [PRODUCT]. Extremely fast pacing, hyper-aggressive camera movement, shots lasting only a few frames before cutting. Violent snap zooms, whip pans, elastic motion blur, frame skipping. The camera never stabilizes. Crushed blacks and blown highlights, heavy film grain, compression artifacts, scan lines, chromatic aberration. Macro close-ups smash into wide abstract shapes. No clean hero shots, no smooth motion, no slow reveals. Visual overload over clarity.
Trimmed versions of my three base prompts. Same DNA, different speed. Pick the pace that matches the brand's energy: slow or snappy for premium, chaos for hype. Swap the product, and let the batch do the rest.
05
Pull the keepers into the timeline
Then it's a casting call. Most generations have maybe a two-second stretch worth keeping, some have nothing, a few are gold. I pull everything into the timeline and start mashing the usable pieces together into one rough string-out.
06
Re-shoot the screen with a macro diopter
This is the step that makes the whole thing work. AI video does not come out high quality, and if you fight that you lose. So I lean into it instead.
I throw a 10x macro diopter, twenty bucks off Amazon, onto my 50mm G Master, play the string-out of clips full screen, and physically film my monitor. Crazy angles, focus falloff, the texture of the actual panel. It puts real glass and real light back between the AI and the final image, and that's what gives the footage life and uniqueness again.
This is what avoids the slop look. The stuff that reads as AI slop reads that way because it went straight from the model to the export. Mine goes through a camera first.
07
Bring order to the chaos
This is the part most people get wrong, and it's why their work ends up looking like slop even with good generations. You have to bring order to the chaos. Not every shot works, not every element earns its place, and your job is to piece the puzzle together and cut tastefully.
Two things help me most: cutting to a music track, and keeping the film generally sequential, so things happen in an order that makes sense. On the Osmo Pocket 4P I liked the idea of the product building itself, so I reversed some of the exploded-view clips and used that as the hook, then dropped into the snappier shots. This is the time to be creative, not the time to use everything you generated.
08
Finish it in After Effects
Once the sequence works, I'll take it into After Effects for the last layer: pixel sorting, tracery, whatever the piece is asking for. Small moves, but they push it that final distance from "AI clips cut together" to a finished film with a point of view.
Where this fits
A day instead of a week, with an asterisk
Because of this method I can turn a week-long 3D project into a day, and for socials and quick turnarounds it works very well. But I'll say the quiet part out loud: on large commercial projects I will always prefer a 3D artist. Full control over the vision and guaranteed accuracy to the product are worth the timeline. This workflow doesn't replace that. It's a different tool for a different job.